Start by clicking the “Add to Slack” button on the home page.
2. Authorize Shared2FA inside Slack
That will send you to the Slack Authorizations page where a you can authorize Shared2FA to access your Slack workspace. The permissions here allow Shared2FA to read the list of channels and users, and to post messages to slack.
Read through these permissions and make sure you understand what is being granted. Then click the ‘Allow’ button to continue.
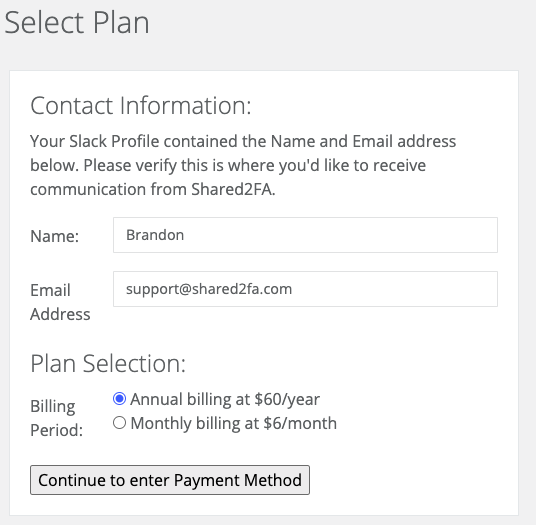
3. Verify Contact Info and Select Plan
On the next screen, verify or change your contact information and select either the Annual or Monthly plan.
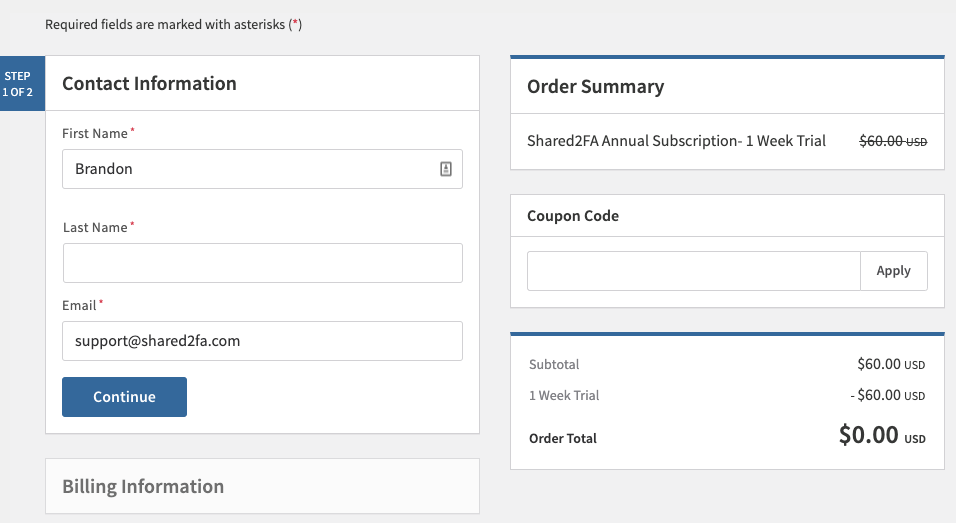
4. Enter Payment Details
Enter your payment method and details here.
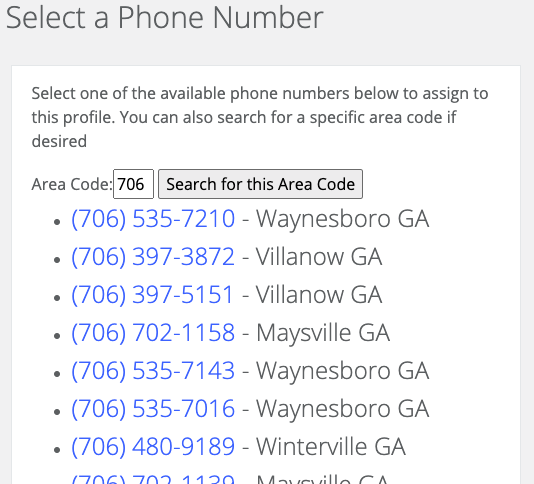
5. Select a Phone Number
Select a phone number from the list. You may search for a specific area code if desired.
6. Select your Slack Channel
On this screen, you select the Slack channel to which your inbound messages will be sent. We usually recommend posting to a private channel so that you can control which Slack users can retrieve your 2FA codes. You’ll need to invite the Share2FA app to any private channels before they will show up in this list. You can use the command /invite @shared2fa inside the channel to invite the Shared2FA application. Then reload the page and your private channel will show up in the list.
When you configure the channel, the Shared2FA App will introduce itself and mention the phone number that will send messages to that channel.
7. Configure your Services to use the new Phone Number
The final step is to configure the services that you’d like to use the new Shared2FA phone number. The exact instructions for that will vary widely by service. The virtual phone number works just like a regular phone number, so you can use it anywhere that requires a phone number.