Shared2FA supports creating virtual Authenticator profiles that can be used in Slack to produce 2FA Codes. This is equivalent to Google, Microsoft, or the many other authenticator apps that are available. They all use the same open-source algorithm, so you can treat Shared2FA the same as any of those apps you have on your phone.
An authenticator device works better than a phone number for some services that don’t work well with phone numbers.
Creating an Authenticator Profile
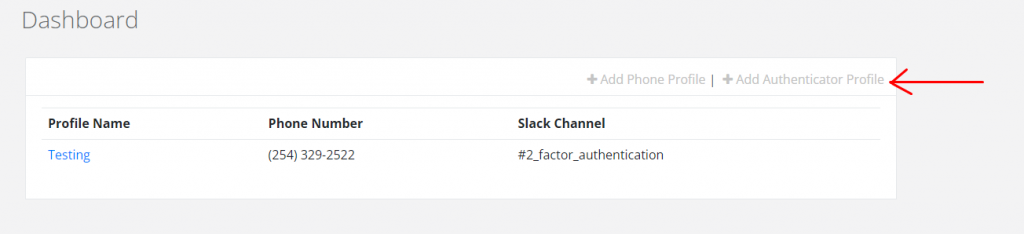
To create a virtual authenticator profile, from the Shared2FA Dashboard, click on the “Add Authenticator Profile” button in the top-right of the page.
If you haven’t already, you will need to put in your credit card details and desired billing period (monthly or annually). After filling out your billing information you might be directed to the Dashboard. Select “Add Authenticator Profile” again. You will be directed to the “Add an Authenticator Profile” page that looks like this.
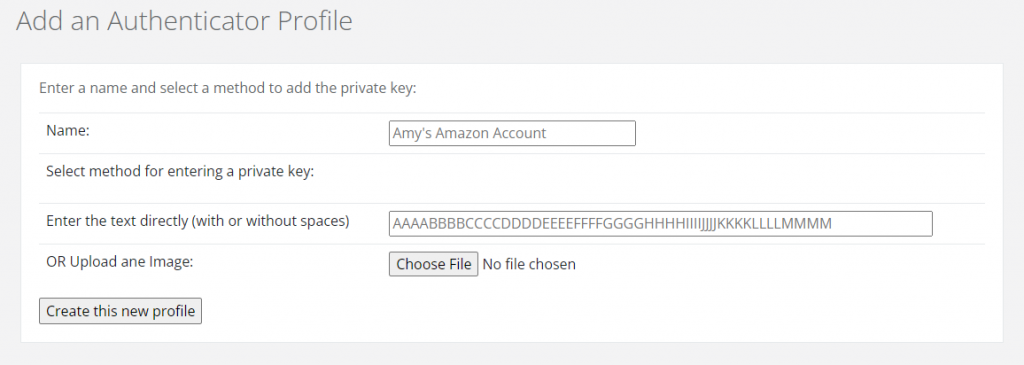
You can create a name for this profile, such as “Google Authenticator Profile.” There are two options for entering the Private Key. You can upload an image of the QR Code, or paste in the string of characters that is usually provided as an alternate method. It is usually easier to find the string of characters so you can just copy/paste them.
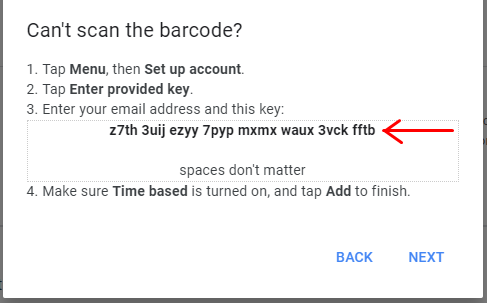
Here’s what that looks like when setting up an authenticator device on Google.com:

Click on the “Can’t Scan It” button. Copy the code that it gives you.
Now navigate back to the Shared2FA dashboard window and paste what has been copied into the Authenticator profile.
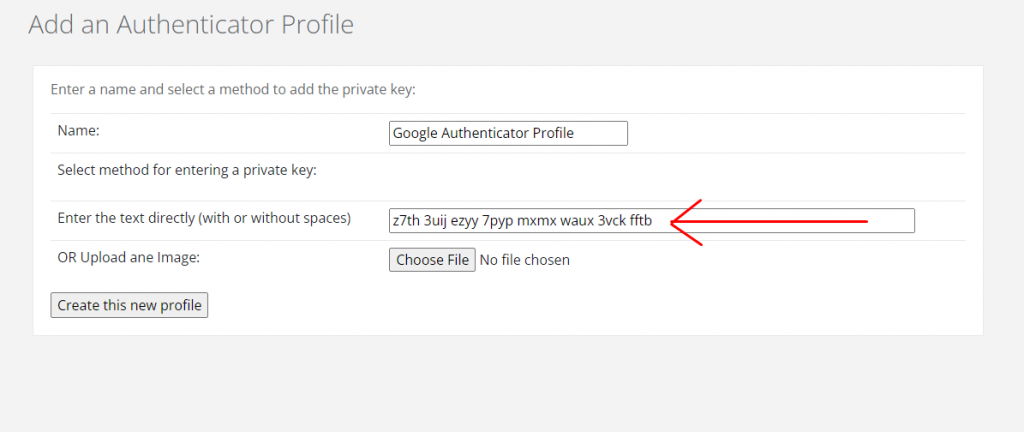
After you click the “Create this new profile.” button, you will then be prompted to select the Slack channel that you want associated with this profile. When you select the channel, you’ll notice that the Shared2FA bot posts in that channel with a short message indicating that it has been added and providing instructions on how to use the code.

In the Slack channel, you can now type:
/shared2fa code
In the message bar and your google authenticator code will appear.

You can then use that code you just received in your Slack channel to verify that Authenticator works in your service.. After that, you are all set! Every time anyone in your team needs the Google Authenticator code to login, all then need to do is type ‘/shared2fa code’ and the code will arrive.
Using the Shared2FA Virtual Authenticator device
Using an authenticator device is different than using a phone number because you have to request the code from Slack instead of respond to an inbound text message. Once the authenticator device has been configured for a Slack Channel, to request a 2FA code, simply mention @shared2fa in the slack channel and it will respond with the current code in a thread
You can configure multiple authenticator devices for a single Slack channel. When multiple devices are available, entering @shared2fa or @shared2fa codes will respond with all of those 2FA codes for all of the devices. You can enter a search phrase after @shared2fa and it will respond only with profiles that match that name. For example @shared2fa microsoft will only return codes for authentic profiles that are named something with the word microsoft in the title.